All Recipes

German Apple Pancake Recipe

Savory Pumpkin Dip
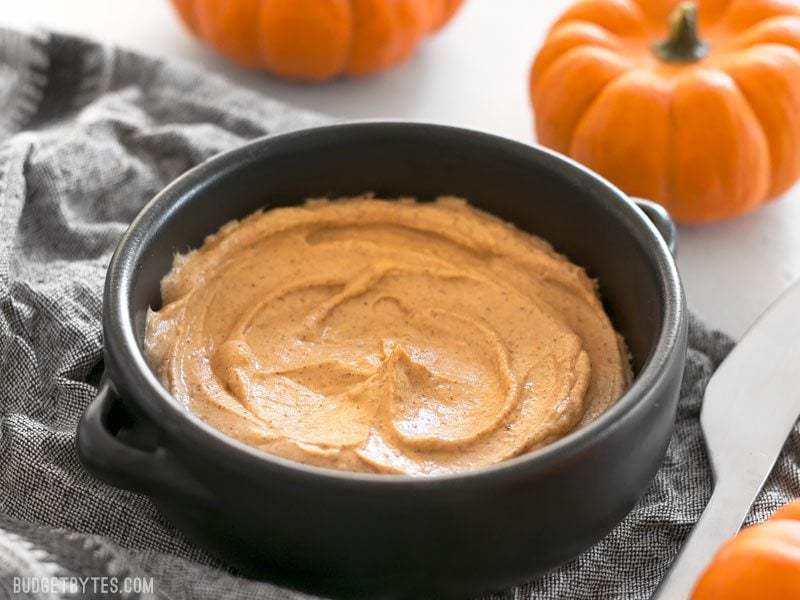
Pumpkin Cream Cheese Spread
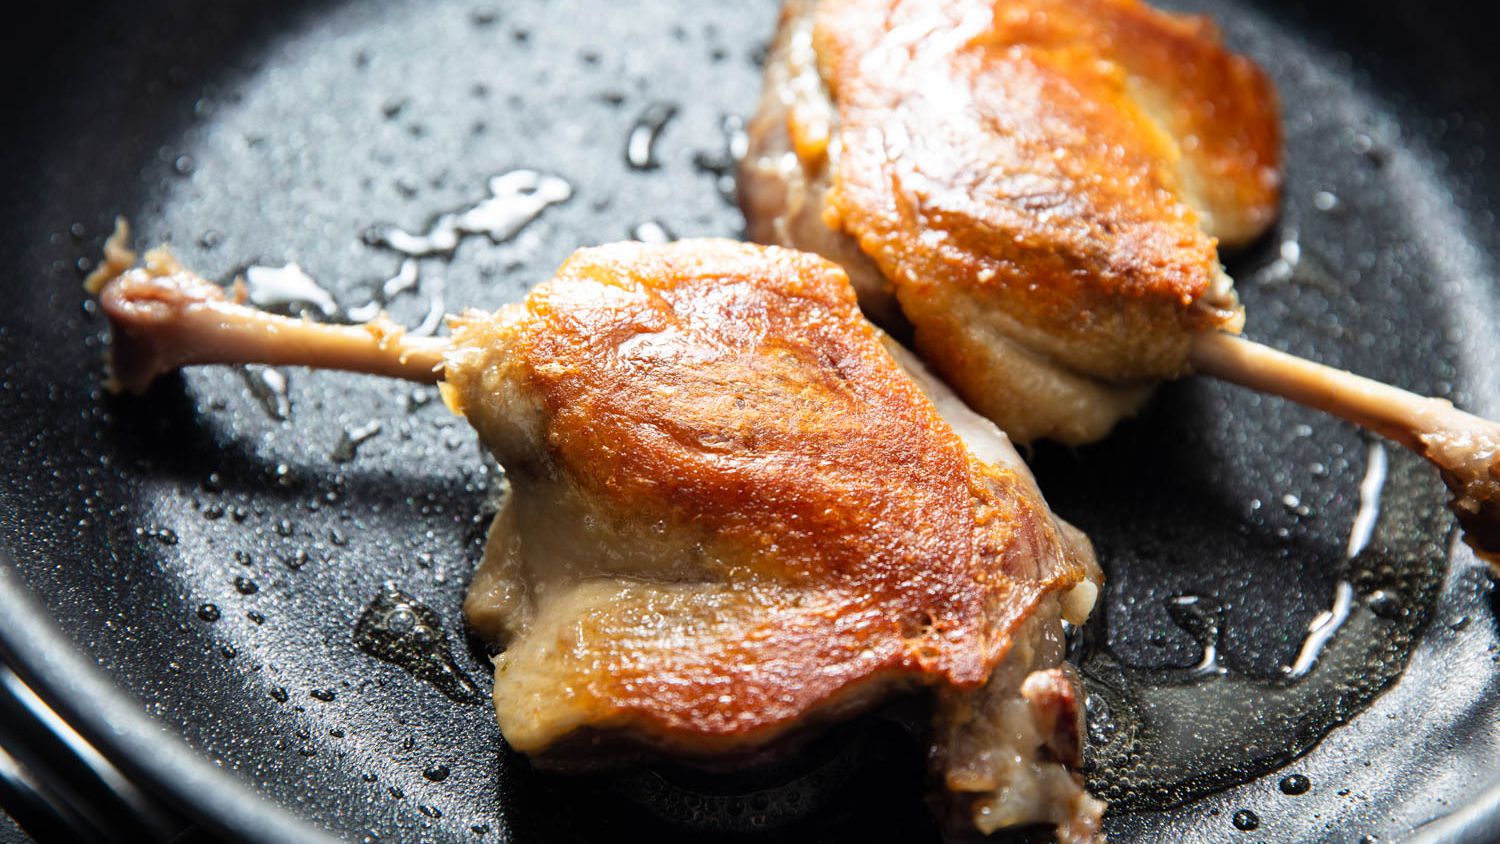
Traditional Duck Confit Recipe
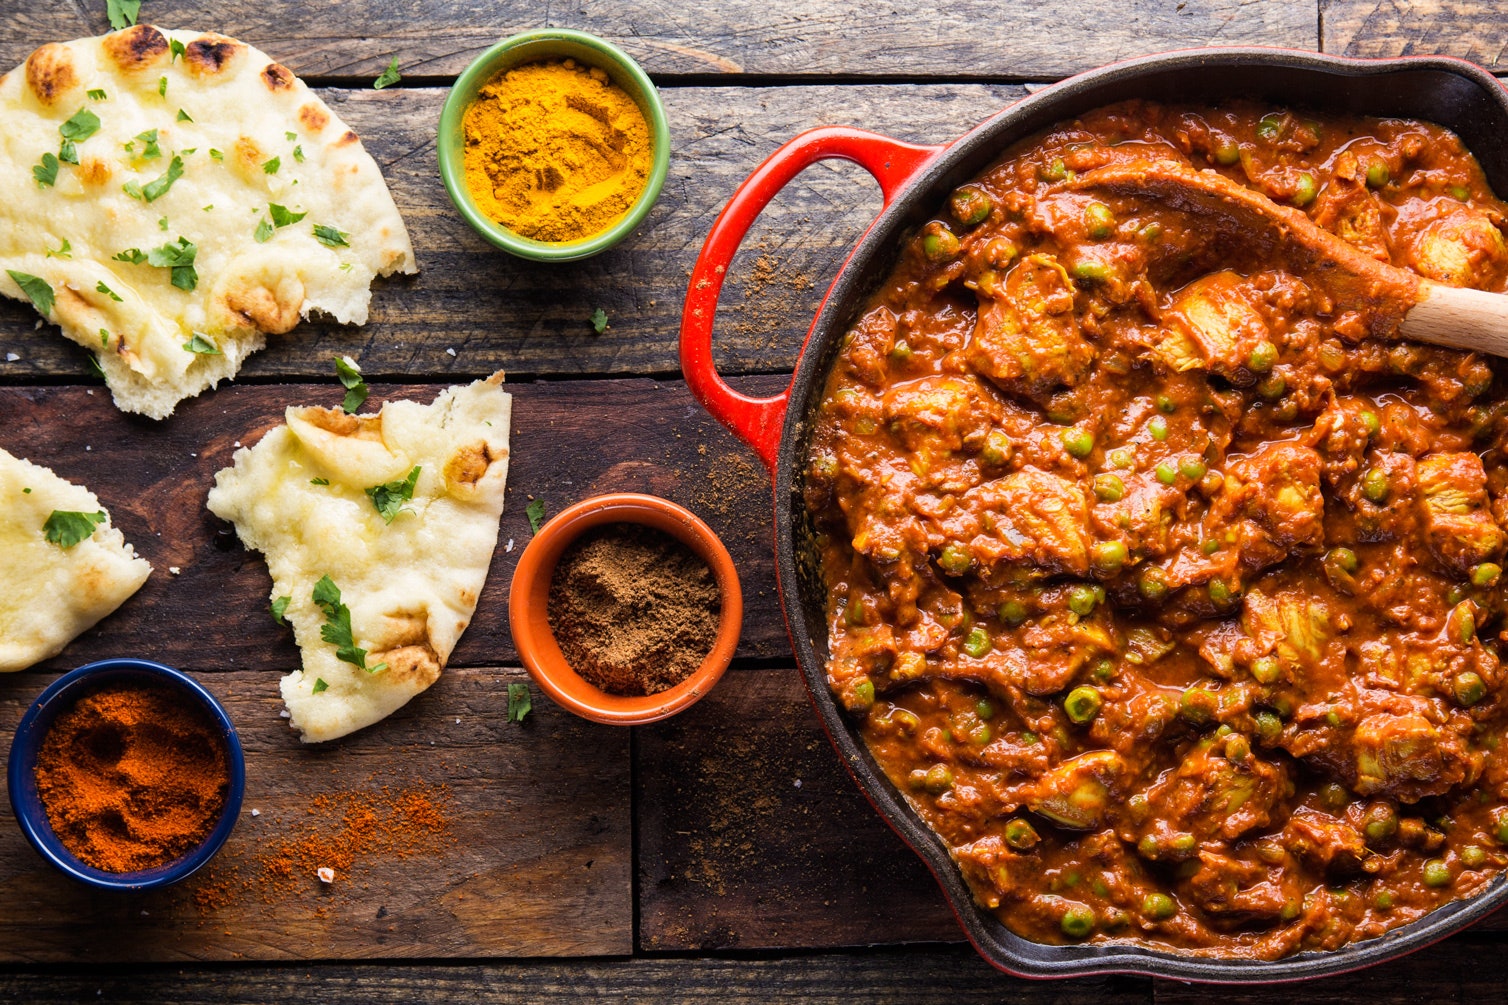
Quick Chicken Tikka Masala Recipe
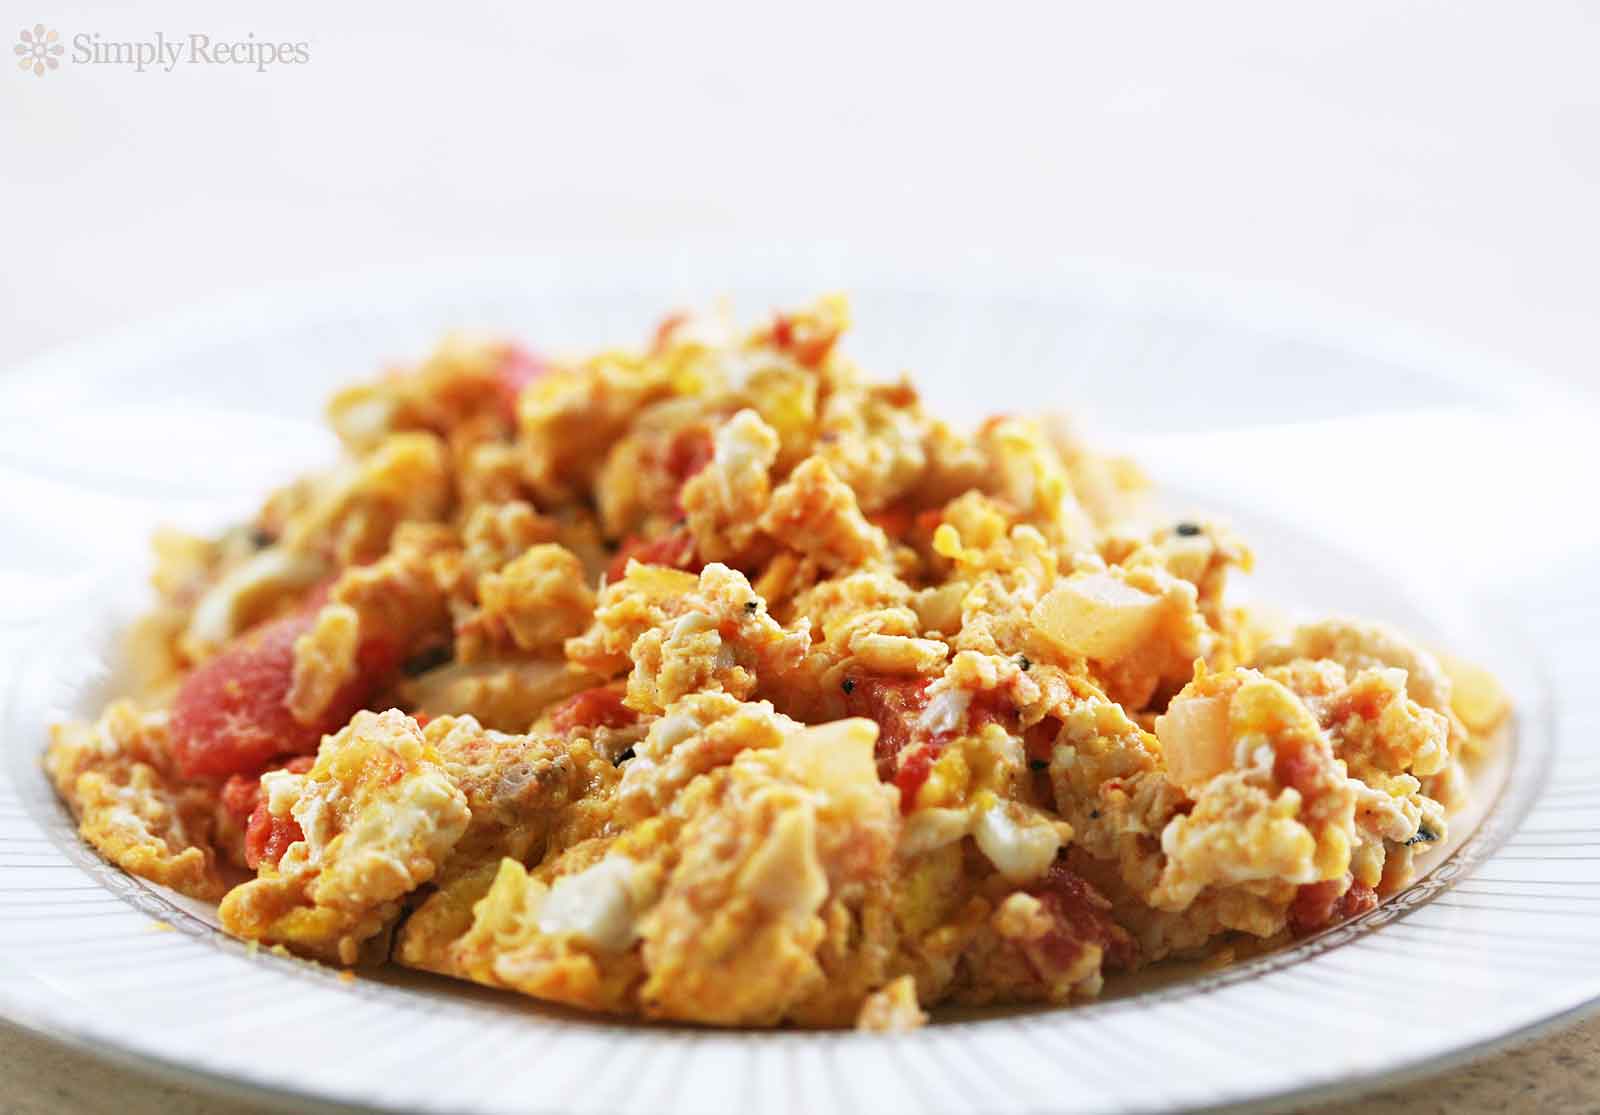
Huevos a la Mexicana

Skillet Avocado Caprese Chicken

Low-Carb Slow Roasted Asparagus

Marinated Flank Steak Recipe

Turkey Chintan Ramen Recipe
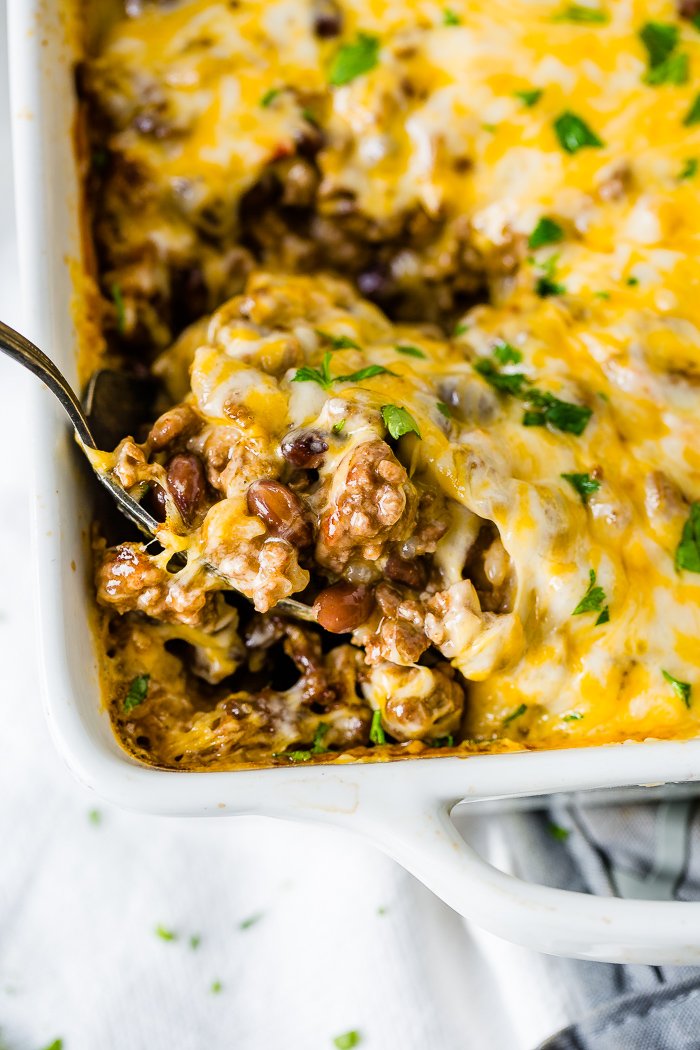
Mexican Cheesy Ground Beef and Rice Casserole

Low-Carb Breakfast Casserole with Italian Sausage, Mushrooms, and Cheese

New England Boiled Dinner
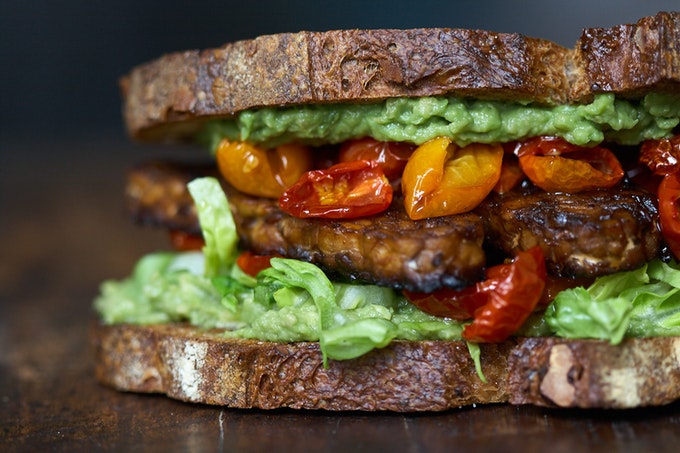
TLT Sandwich Recipe

Poblano Tacos Recipe
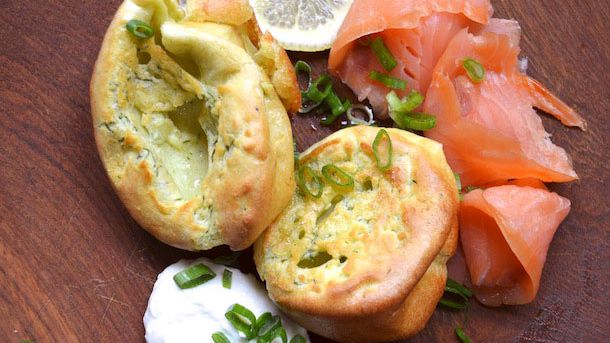
Dill Yorkshire Puddings With Smoked Salmon and Horseradish Cream Recipe

Smearcase Recipe

Perfect Quick-and-Easy French Toast Recipe
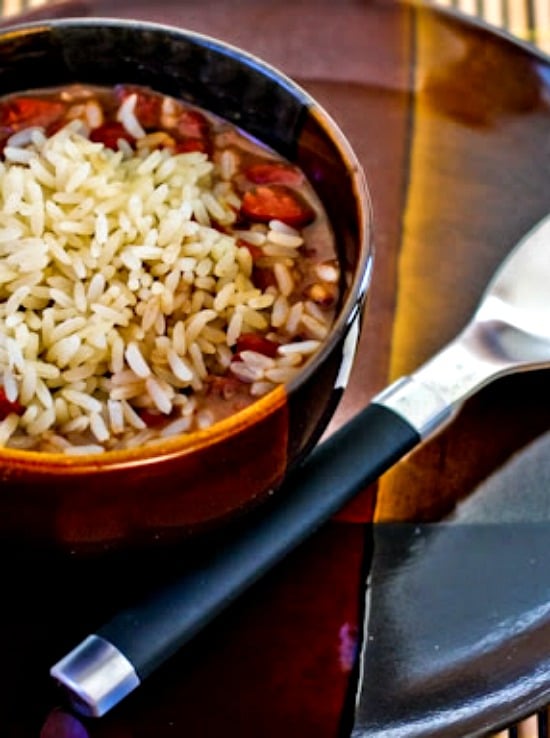
Slow Cooker Louisiana-Style Red Beans and Rice
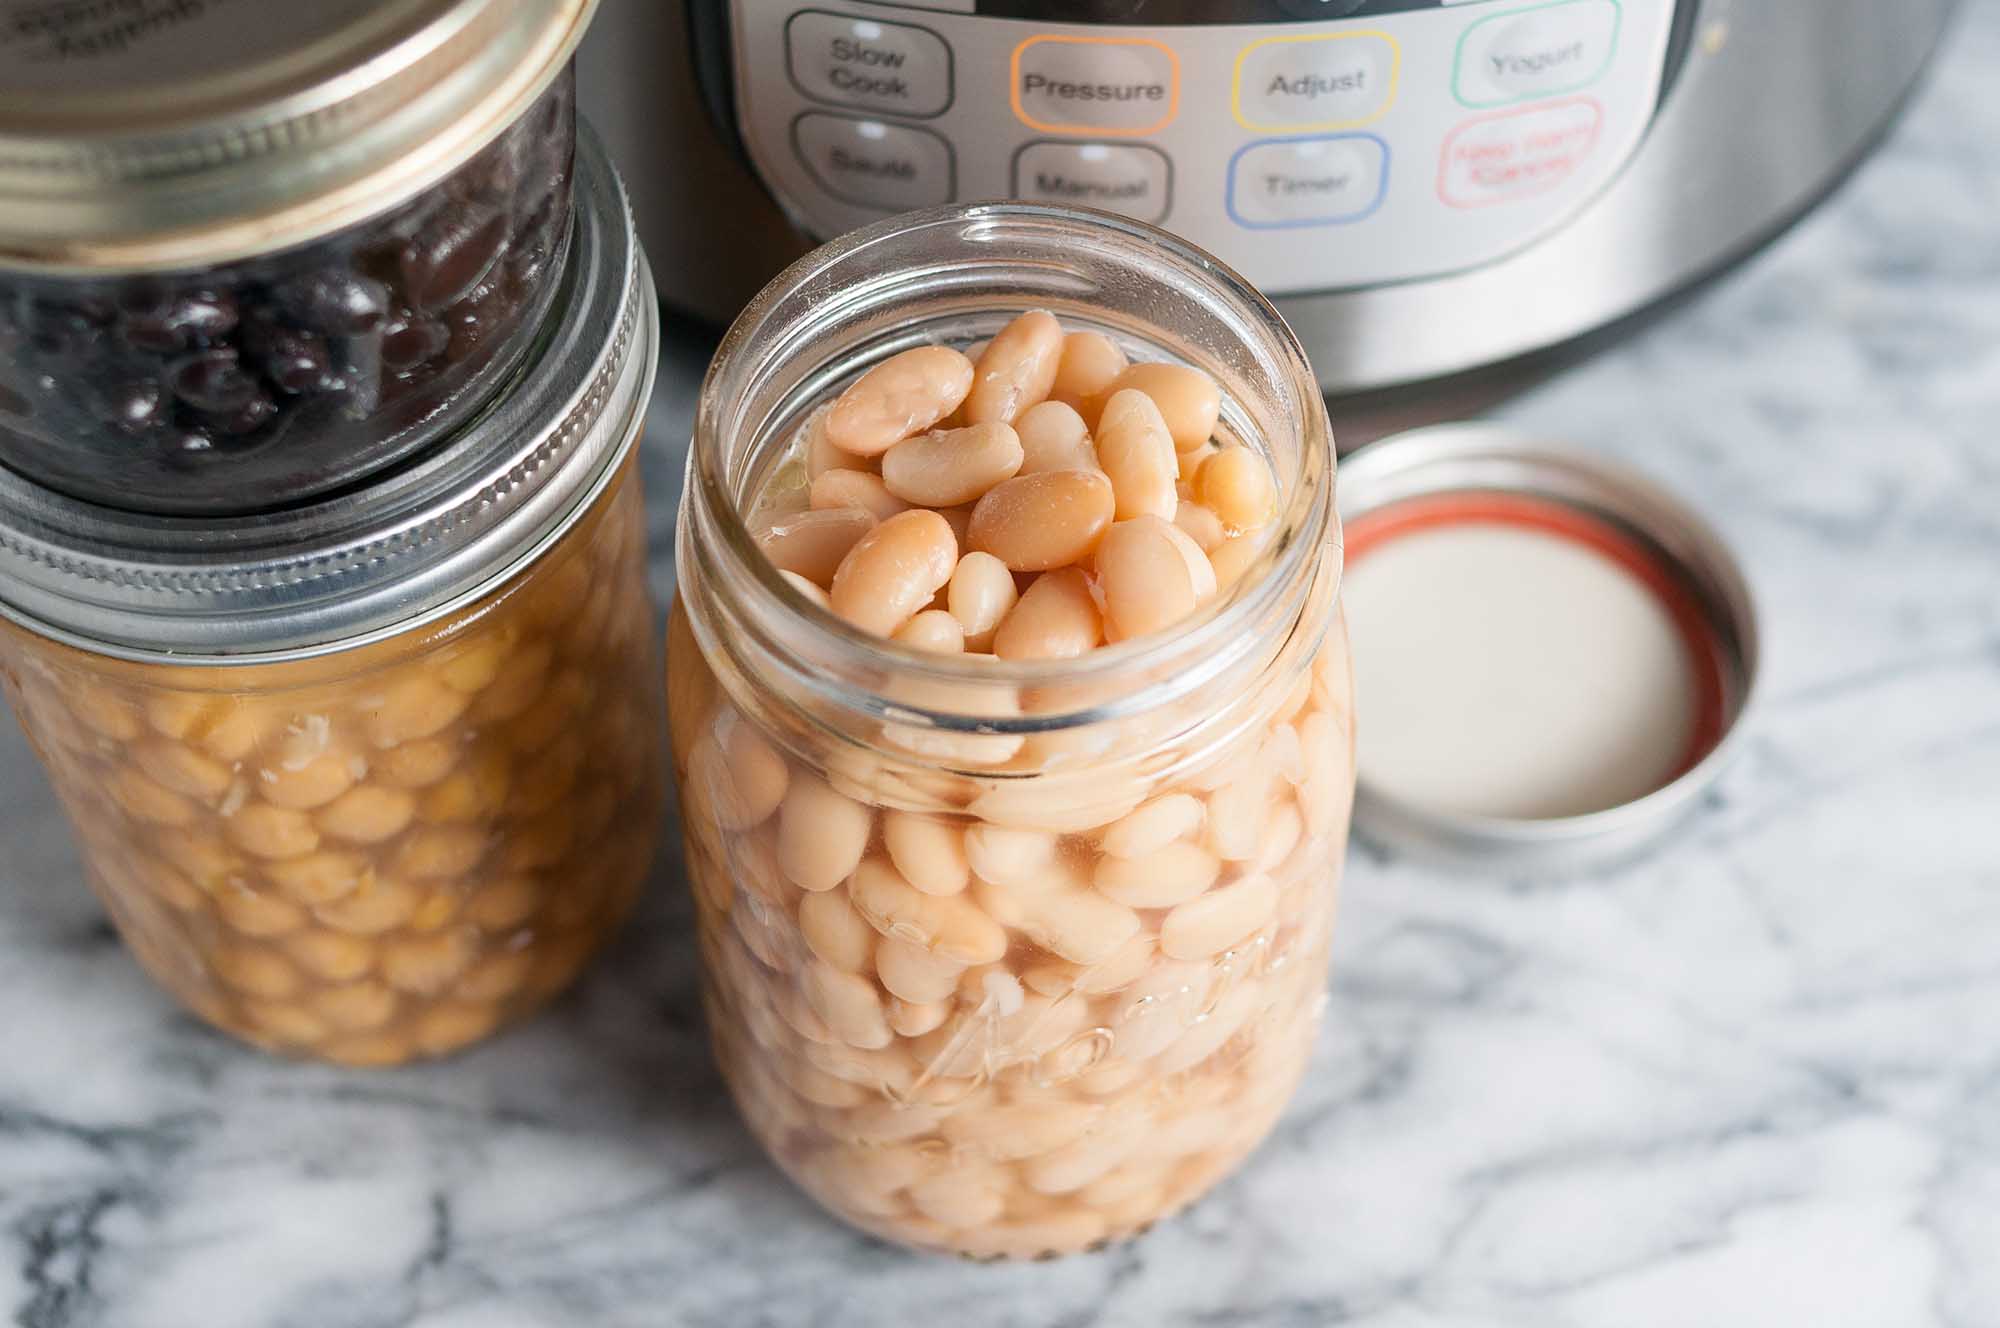
How To Make Fast, No-Soak Beans in the Pressure Cooker

Classic Baked Ziti
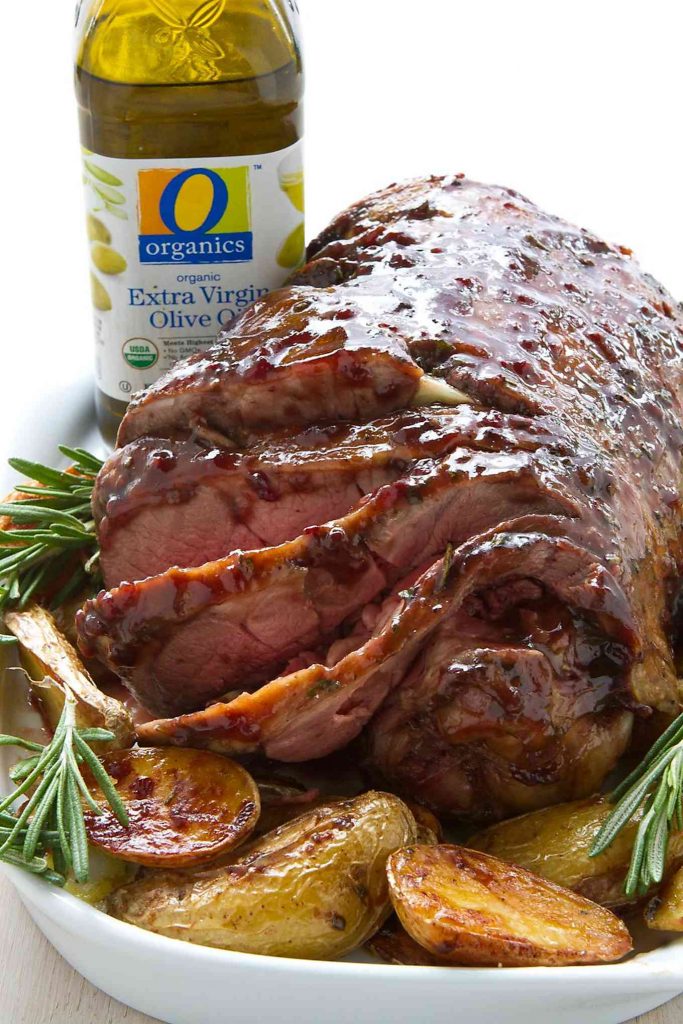
Roasted Leg of Lamb with Blackberry Glaze

Homemade Ras el Hanout Recipe
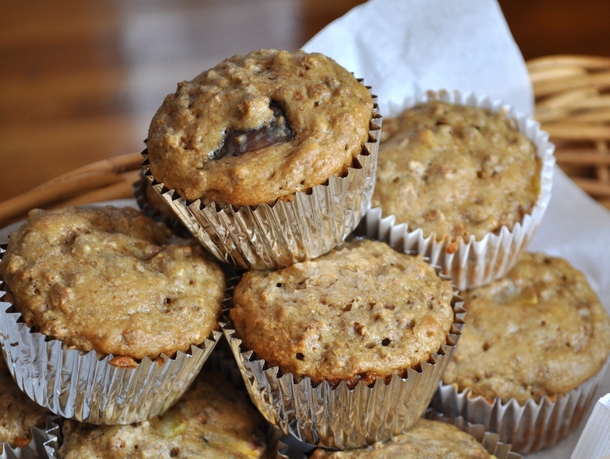
Peach Bran Muffins Recipe
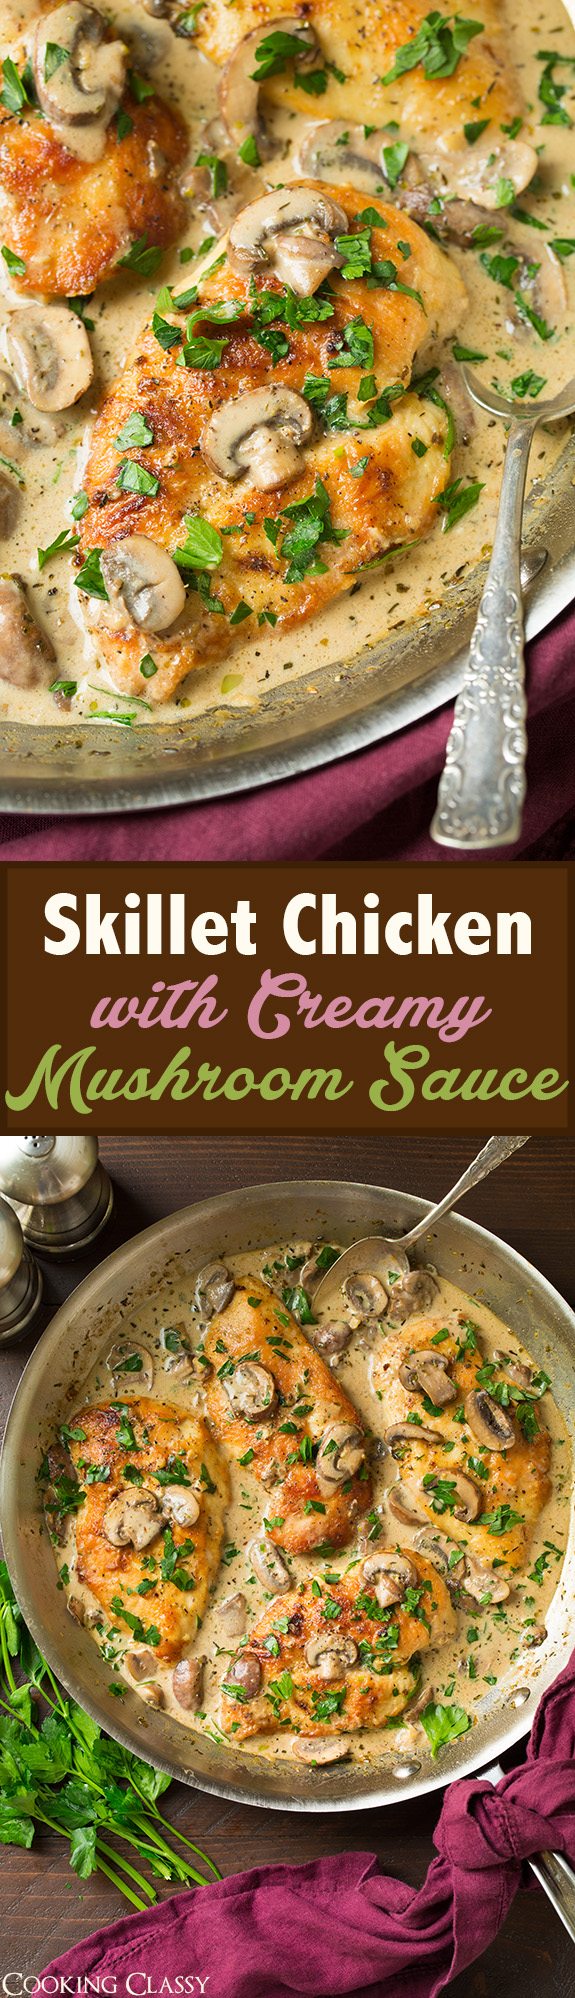
Skillet Chicken with Creamy Mushroom Sauce

Strawberry Arugula Quinoa Salad

Puerto Rican Spicy Cabbage Salad
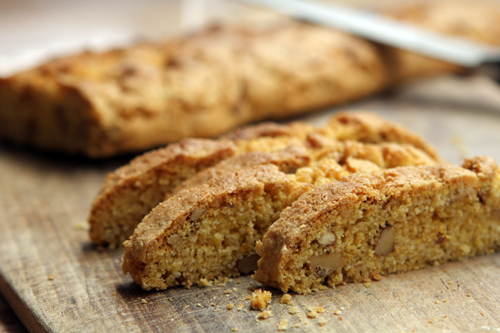
Cornmeal Biscotti

Barbecue Chicken Pizza
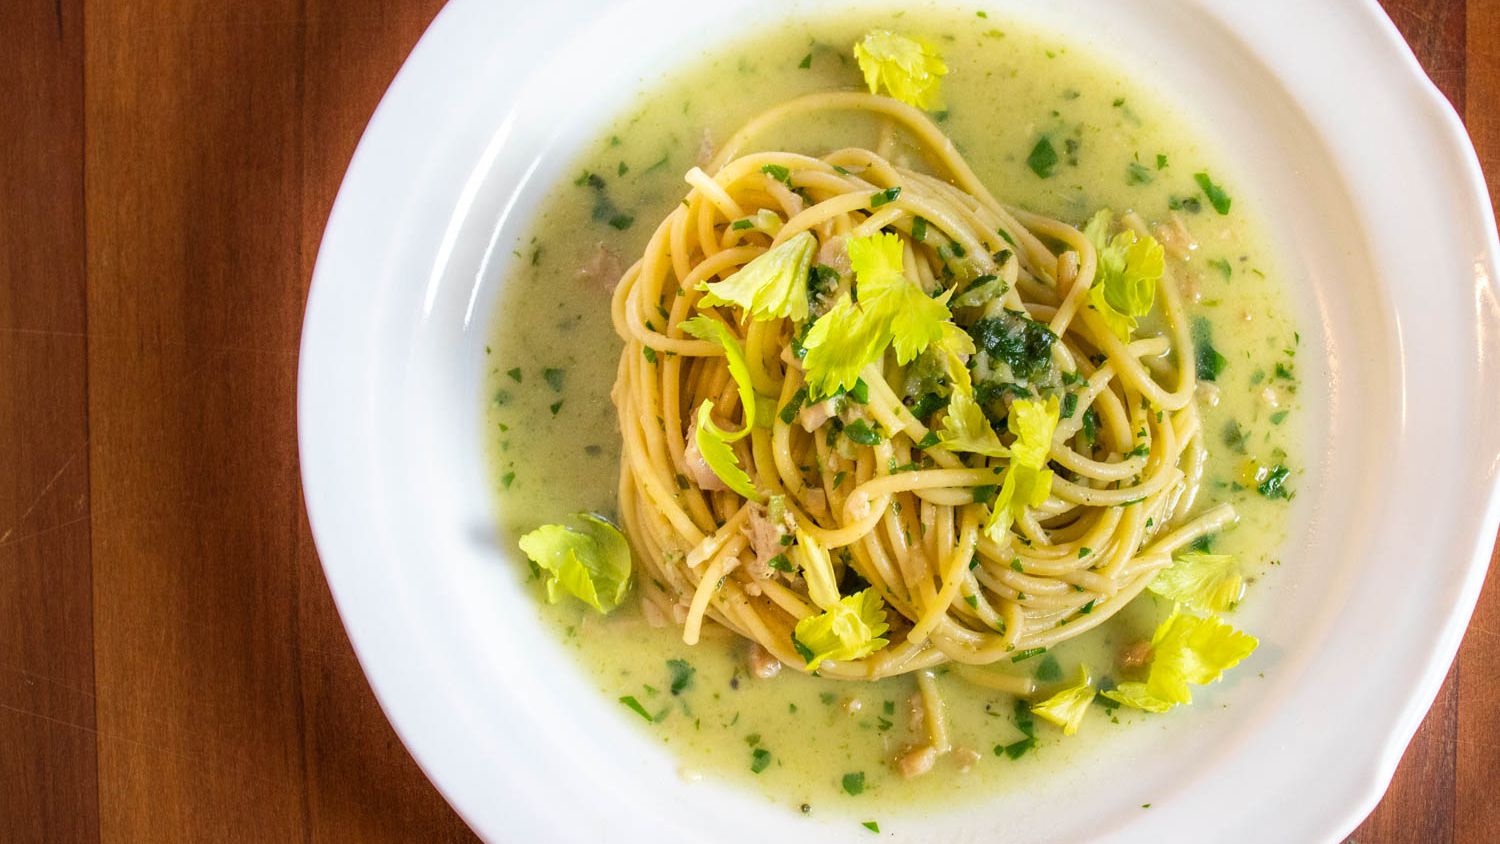
Spaghetti With Canned-Clam Sauce Recipe

Low-Carb Egg-Crust Vegetarian Breakfast Pizza

The Best Fried Chicken Recipe Ever?

Pumpkin Ice Cream

Pumpkin Marshmallow Pie

Green Chile and Cheese Egg Muffins
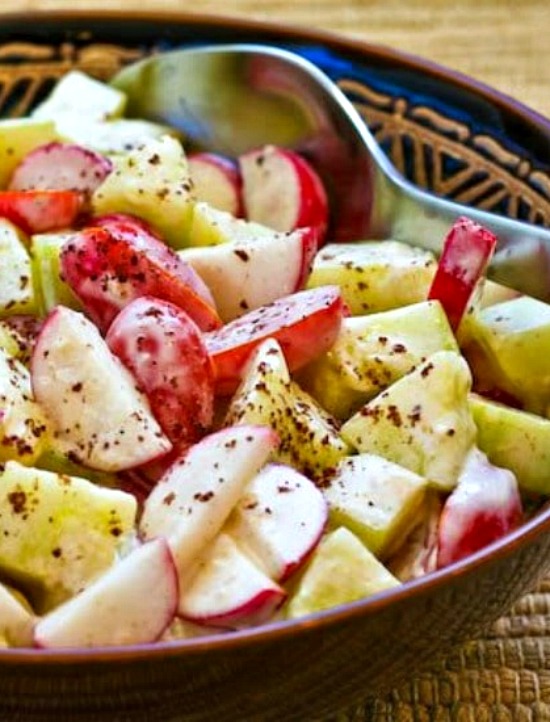
Tomato, Cucumber, and Radish Salad with Yogurt-Tahini Dressing and Sumac

Gluten-Free Tuesday: Corn Dogs Recipe

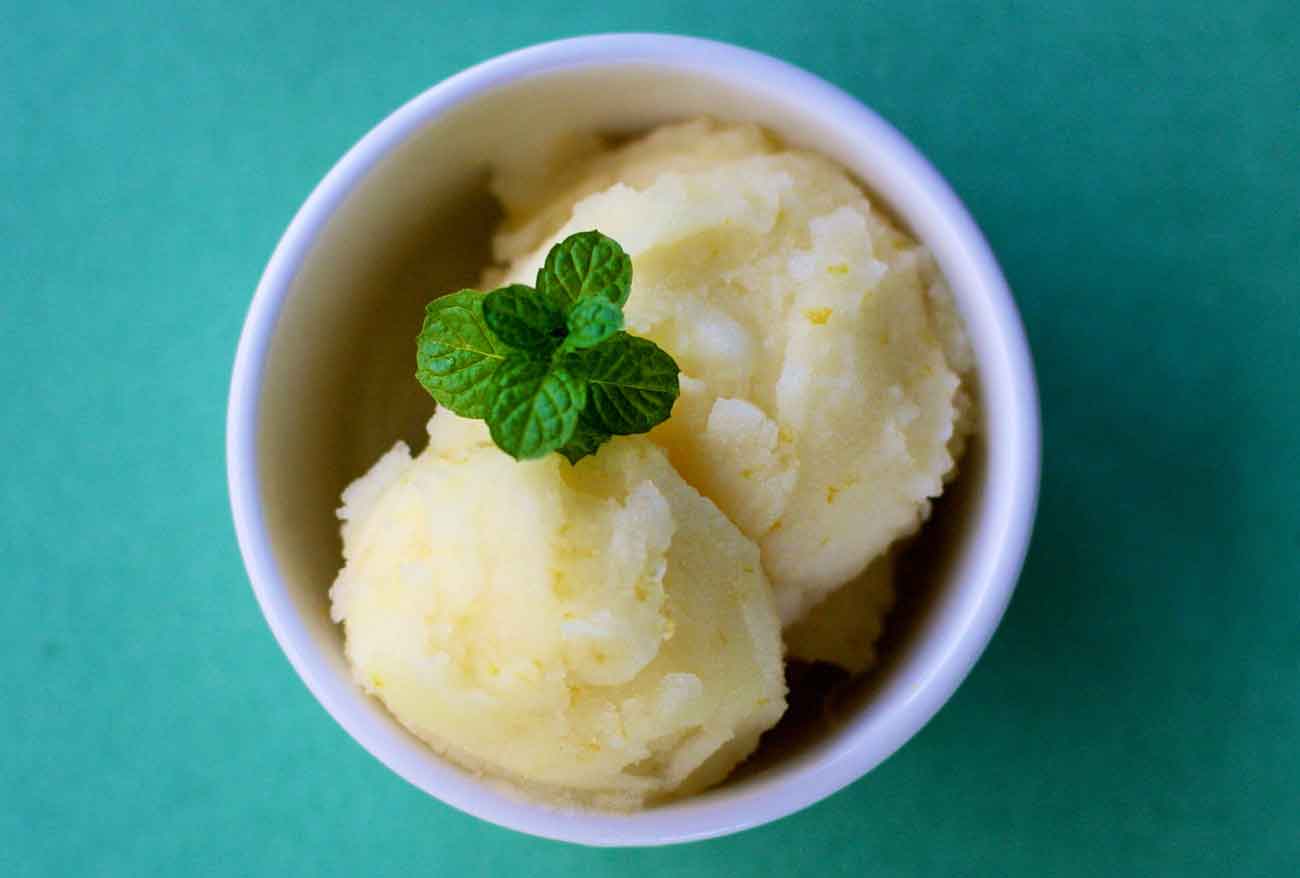
Tangerine Sorbet
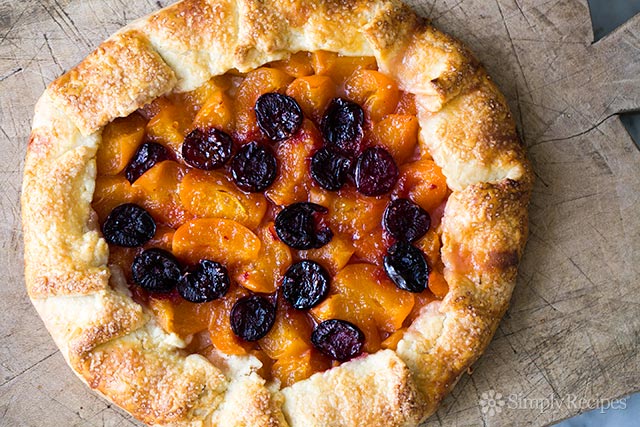
Apricot Cherry Galette

Apple Cherry Baked Oatmeal
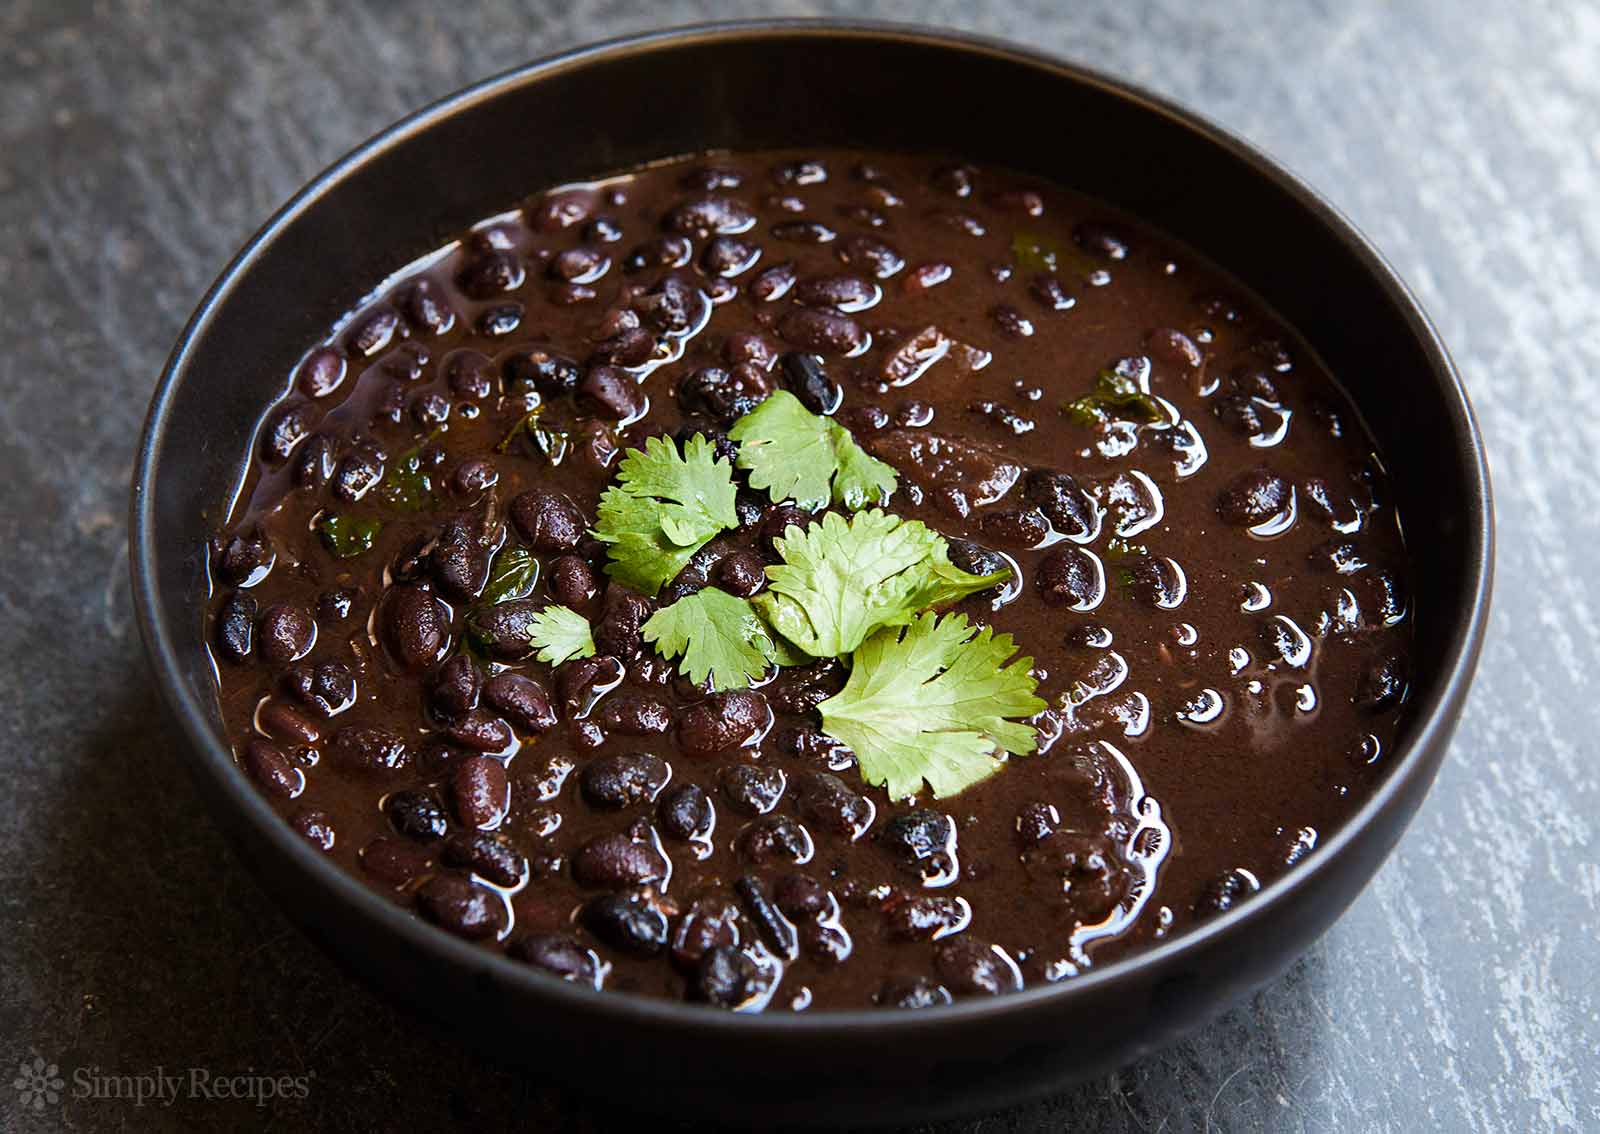
Spicy, Citrusy Black Beans

Nigel Slater's Hot, Sweet Plum Chutney

Pimm's and Tonic Recipe
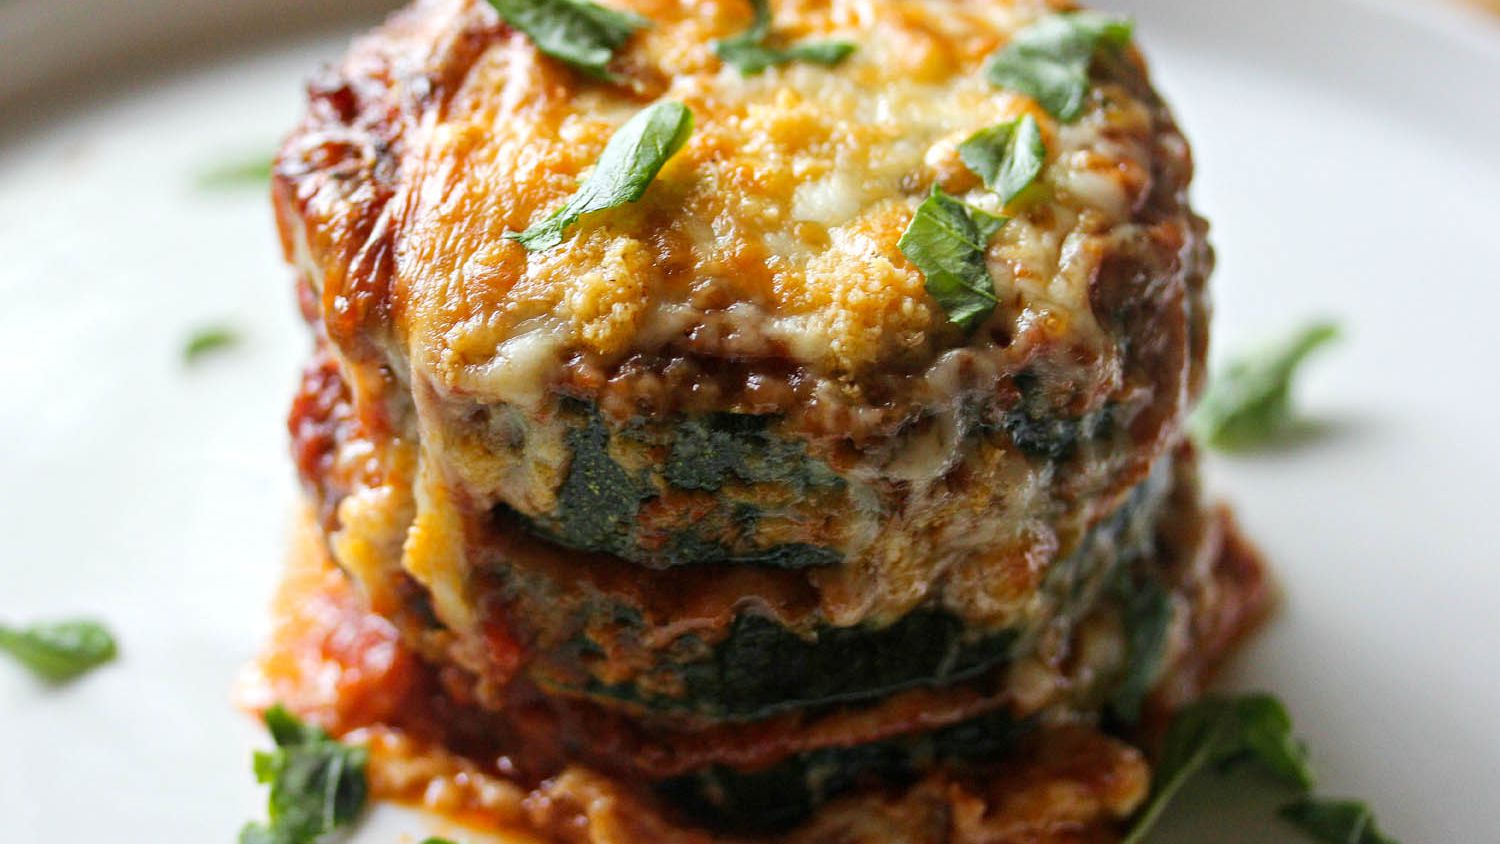
Zucchini Stacks in the Style of Eggplant Parmesan Recipe
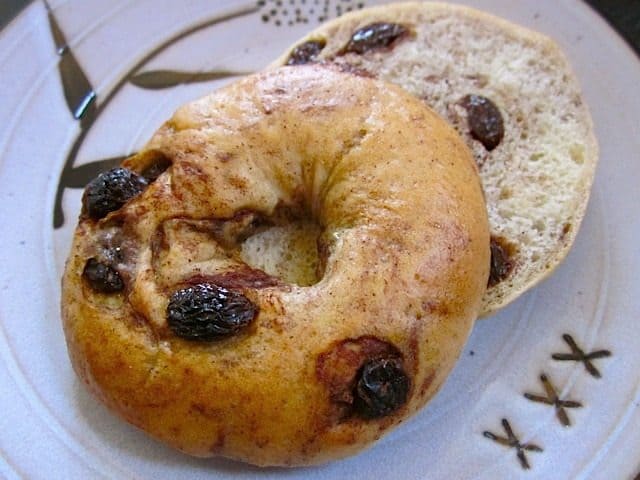
Cinnamon Raisin Bagels

Asian Cabbage Rolls with Spicy Pork Recipe | Cook the Book
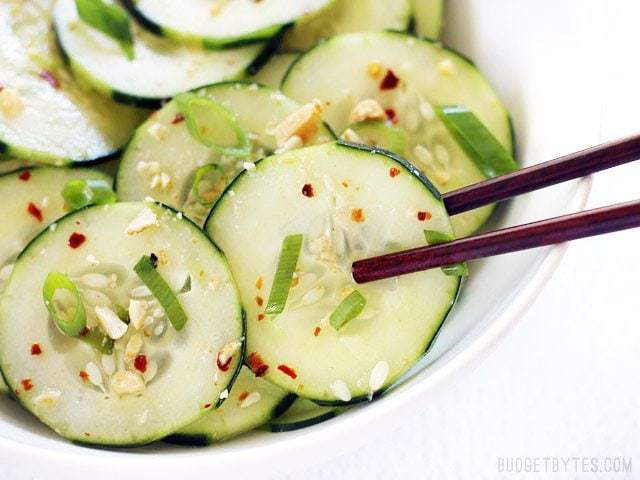
Thai Cucumber Salad
Meyer Lemon Sorbet

Kerala-Style Egg Gravy Recipe

Quick Steak Stir-Fry