How to Make Gluten-Free Biscuits
-
Category
Side Dish
-
Cusine
American
What do you need?
How to make?
Ingredients
2 cups gluten-free flour mix, preferably Bob’s Red Mill 1-to-1 Gluten-Free Baking Blend or another flour blend with xanthan gum
1 tablespoon baking powder
3/4 teaspoon baking soda
2 tablespoons sugar
1/2 teaspoon salt
1/2 cup very cold butter, cut into tablespoons and then cut in half, plus more to grease the pan
3/4 to 1 cup cup cold buttermilk
1 tablespoon melted unsalted butter
Directions
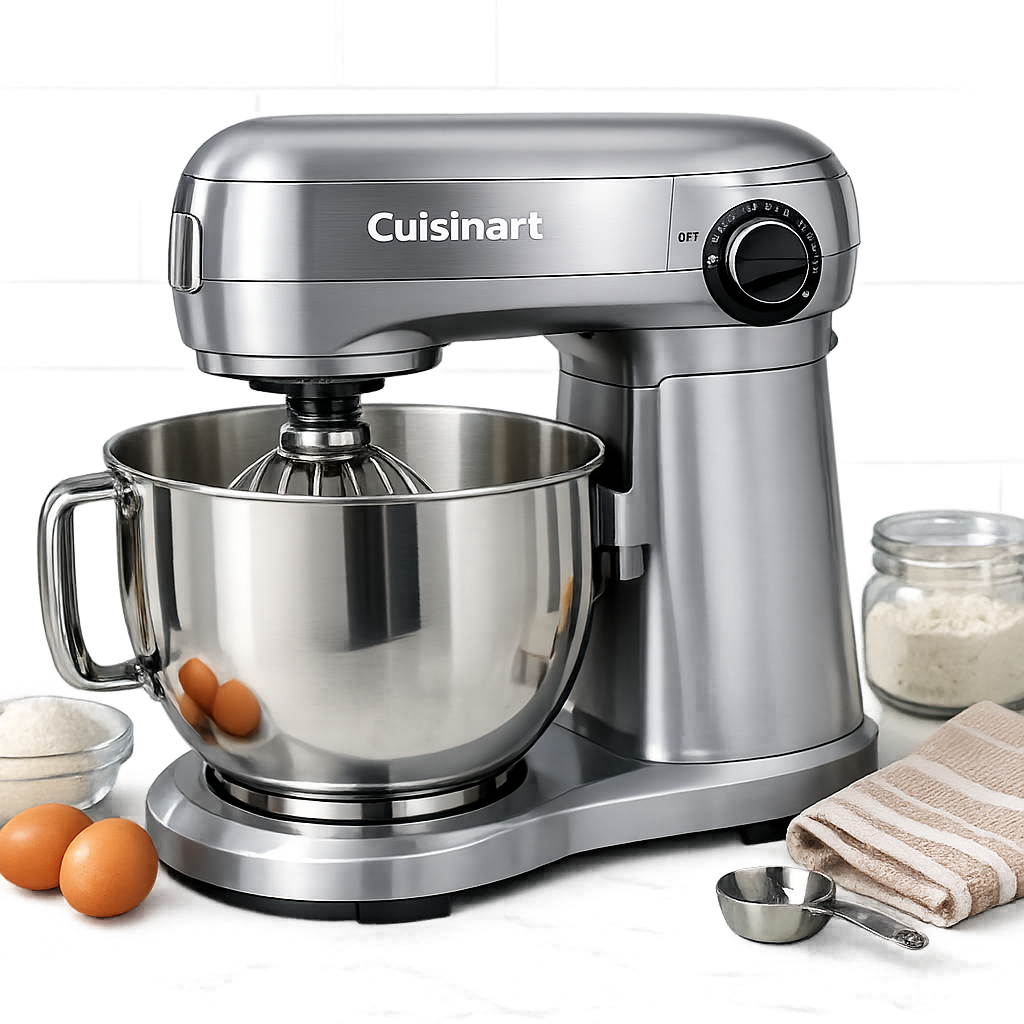
Mix flour, baking powder, baking soda, sugar, and salt in the bowl of a stand mixer fitted with a paddle attachment.
On the low speed, let the mixer break up the butter into smaller pieces; this should take about a minute. Stop the mixer and check; you still want visible pieces of butter about the size of marbles or even a little bigger. They will look like they are starting to flatten.
This dough is not a situation where we say the flour and butter should look like “the consistency of small peas. ” If some of the pieces haven't flattened, just press them between your fingertips to break them up a little bit—dime-sized pieces are fine.
Remove the bowl from the stand mixer and add 2 tablespoons of buttermilk. Using a fork, quickly mix the buttermilk into the flour to hydrate it.
Then, slowly mix in a scant 3/4 cup of buttermilk and combine with a fork until no streaks of flour remain. If the dough seems dry, add additional buttermilk a tablespoon at a time and incorporate before adding more. You don't want a wet dough.
On a floured surface, turn out the dough, which will look like a crumbly mess. It will come together when you begin to shape it into a ball. If for some reason the dough feels dry, add a couple of tablespoons of buttermilk to hydrate those dry bits.
Lightly press the dough into a thick rectangular shape, about 4 inches by 6 inches. Fold one of the short ends of the dough toward the middle, and then the other, like a letter.
Rotate the dough 1/4 turn and roll it out, and fold it again into thirds. Repeat this process one more time, then wrap the dough in plastic wrap and refrigerate for 1/2 hour to an hour. , cut out about 6 biscuits by pressing the cutter straight down into the dough; if you twist them when you remove them, you’ll stunt their rise!
Reroll the scraps, reflouring the biscuit cutter if needed, and make more biscuits until all the dough is used up.
Transfer to the pan. You will have to nestle them close to each other, and that’s okay. You want them touching in order for them to rise better. Brush the tops with the melted butter.
Bake the biscuits for 20 to 25 minutes until the tops look lightly brown around the edges. Check frequently to avoid burning.
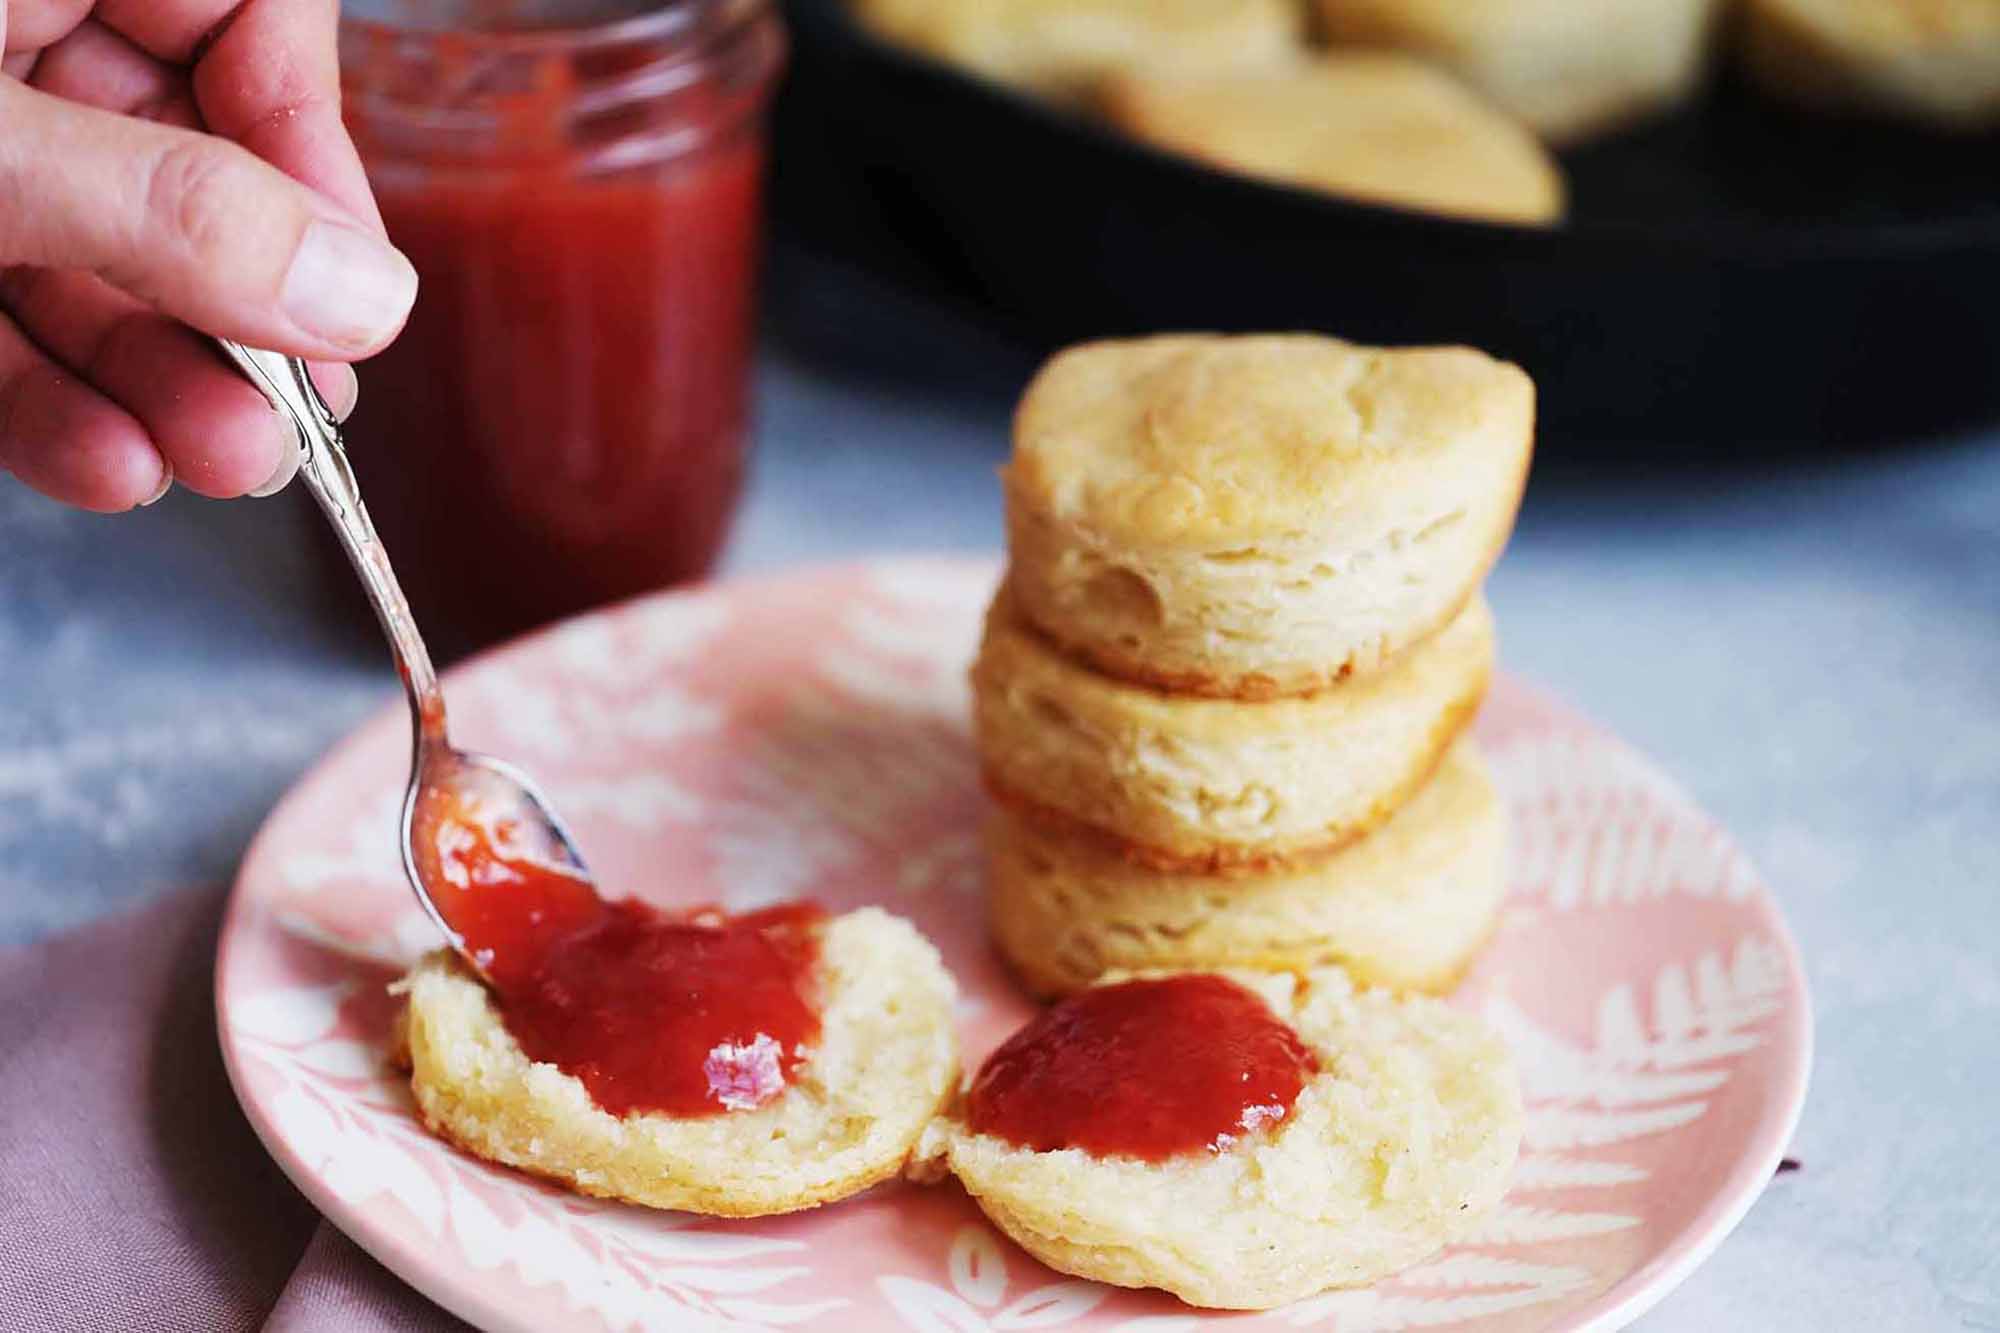
Remove from the oven and brush the tops with melted butter. Let the biscuits cool in the pan for about 5 to 10 minutes before removing from the pan to a wire rack to cool completely. Try to wait the seemingly impossible 10 minutes before you eat one. They will continue to cook a little, firm up a little while cooling, and not burn your mouth. It’s all worth the wait.
These biscuits are best eaten warm out of the oven, but they do okay reheated in a toaster or low oven for up to 2 days. They get dried out pretty fast.