Instant Pot Yogurt
-
Category
Snack
-
Cusine
American
What do you need?
How to make?
Ingredients
1/2 gallon pasteurized milk
2 tablespoons yogurt culture
Directions
Pour the milk into the Instant Pot’s insert. Lock on the lid. It does not matter if the steam vent is open or closed. Press the “Yogurt” button, then press “Adjust” so the digital readout says “Boil. ”
After this, you don’t need to press any buttons. Just wait and it will bring the milk to 180 degrees F . It usually takes about 30 minutes.
When it's done, the Instant Pot will beep and its readout will say “Yogt. ”
For thicker yogurt, remove the lid, press YOGURT, then press ADJUST so the digital readout again says “boil. ” Start a timer for 5 minutes; one the time is up, proceed with the recipe below. This cooks the milk a little longer and leads to thicker yogurt.
Right after the Instant Pot beeps, turn it off and lift out the insert of hot milk. Put the thermometer in the milk and wait until it’s 116 degrees F. This can take as long as an hour.
To speed down the cooling, set the insert of hot milk in a bath of ice water and stir the milk; the temperature will drop in about 5 minutes.
Remove the thermometer. There will be a film of coagulated milk on the surface of the milk; carefully lift this off with a spoon and discard .
Put the starter in a medium bowl and add about 1/2 cup of the warm milk. Whisk until smooth, then pour into the insert of milk and whisk to combine.
Set the insert of milk back in the Instant Pot, lock on the lid , and press YOGURT.
00,” add time using the + button until it does.
The Instant Pot will incubate your yogurt for 8 hours before switching itself off . You can use the +/- button to adjust the incubation time.
Note that, when incubating yogurt, the timer counts up .
45,” it’s been incubating for 2 hours and 45 minutes.
Start checking on your yogurt after 4 hours. As the yogurt incubates, you don’t want to jostle the Instant Pot too much—it can keep the yogurt from setting well.
It can take anywhere from under 4 to over 12 hours for your yogurt to set. A lot of it has to do with how active the cultures in your starter are—fresher starter takes a lot less time to incubate. Be patient and don’t lose hope!
Open the lid carefully when you peek; a lot of condensation forms around the gasket and you want to minimize it dripping back onto the yogurt.
The yogurt is set when it jiggles all as one unit if you carefully nudge the insert, and it does not run if you tip the pot a bit. You may see some clear liquid floating on the surface and at the edges.
Once your yogurt is set, gently lift the insert from the cooker. Pouring it out or stirring at this point can make your yogurt runny, which you don’t want. You can set the insert on a rack to help it cool faster, but don’t pop it right in the fridge, since rapid temperature changes can also thin your yogurt. Once it’s at room temp , set it in the refrigerator. Chill at least 6 hours. The yogurt might seem lumpy after it's been chilled, but a vigorous whisking will smooth it out. At this point, you may strain it or transfer it to sterile containers .
The yogurt should be good for up to two weeks. As it sits in your refrigerator, it will get tangier and lose some of its body.
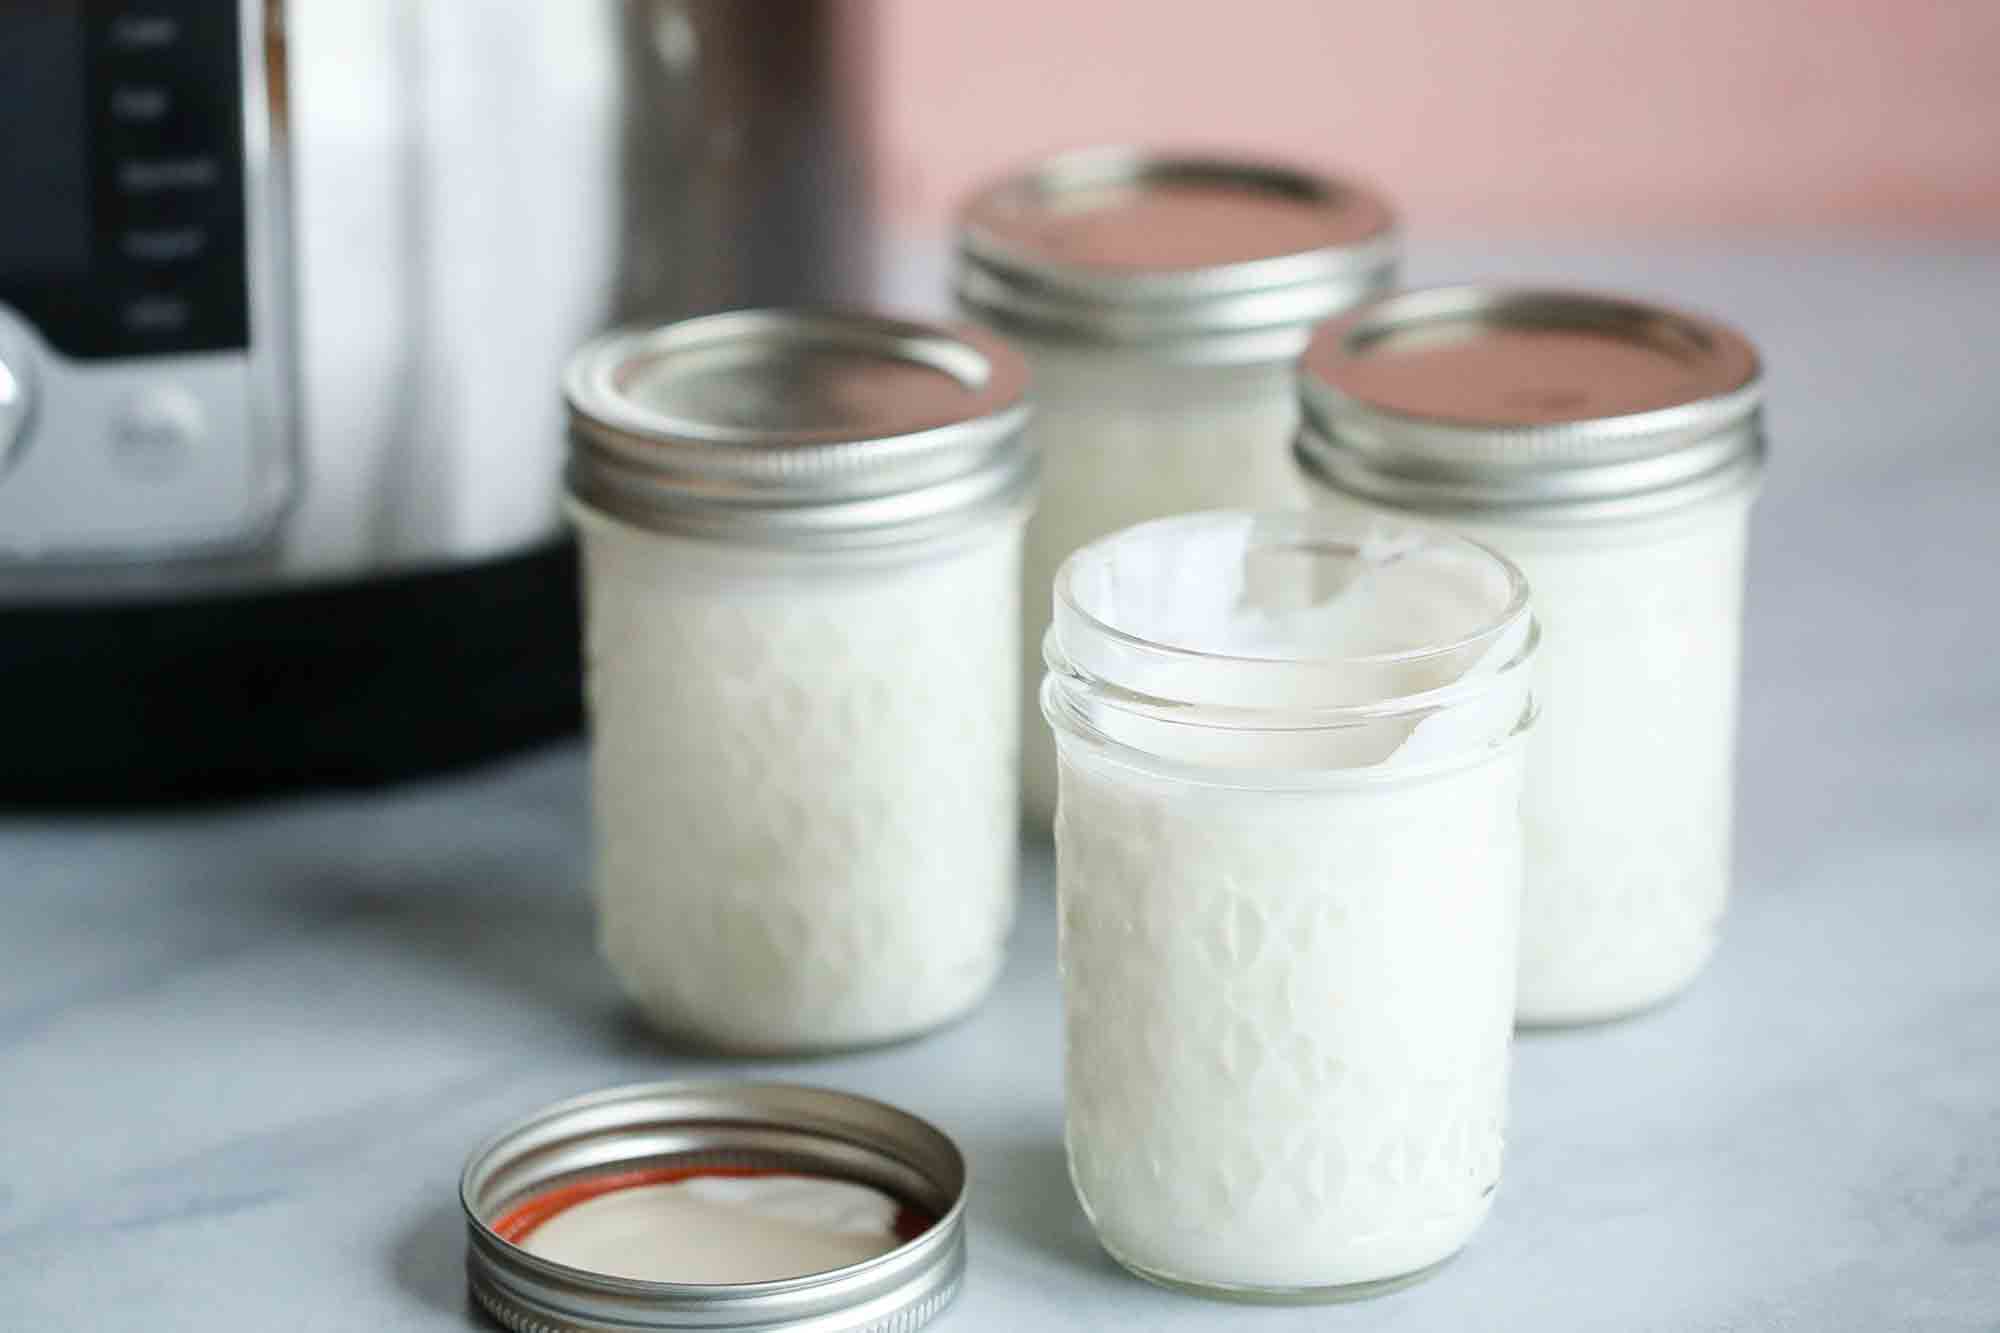
How to make yogurt in heatproof jars
To make yogurt in heatproof jars , put 1 cup of water in the insert and set the steam rack on top. Fill the jars with milk, stopping 1/2 inch from the rim. Set them in on the rack; lock on the lid. Press the “Steam” button and use the “-/+” keys to adjust the time to 1 minute. When the cooker beeps, let the pressure release naturally.
Open the cooker and use canning jar lifters to remove the jars. Stick a thermometer in one and wait for the milk to cool to 116 degrees F. This can take up to an hour. Remove and discard any skin from the top of the milk in the jars.
Divide the appropriate amount of starter among the jars—it’ll depend on how much the jars hold. Return the jars to the cooker, lock on the lid, press the “Yogurt” button, and proceed with Step 4.