Whole Wheat Bread
Tender whole wheat loaves enriched with milk, butter, and honey, with a soft crumb and just enough chew for everyday slicing.
Prep 35 min · Cook 40 min · Total 4 hr 10 min · Makes 2 9x5-inch loaves
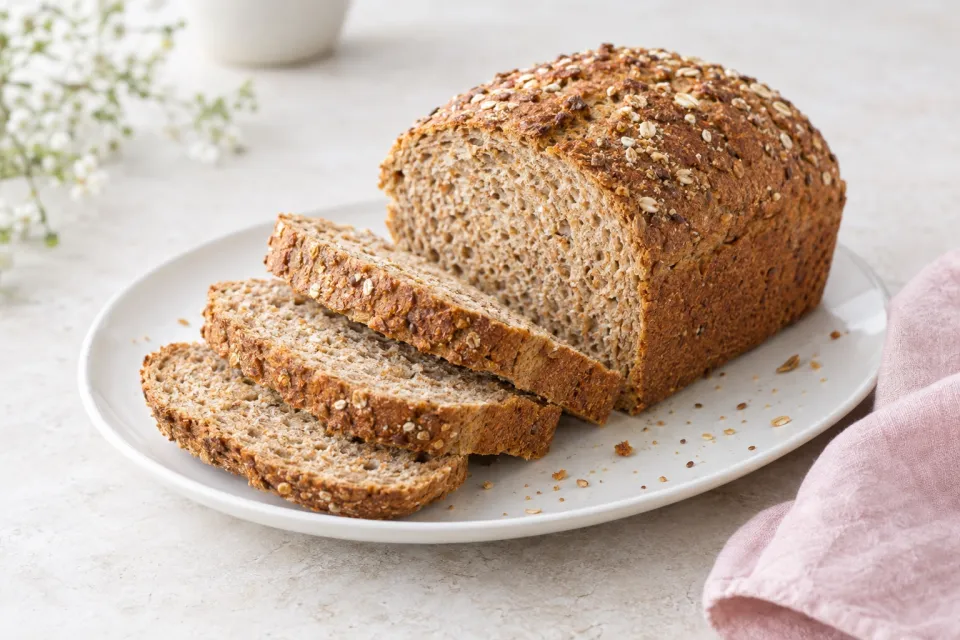
Ingredients
- 2 1/2 cups warm 2% milk
- 1 packet Active Dry Yeast
- 3 1/3 cups bread flour plus more for dusting
- 3 1/3 cups whole wheat flour
- 1 tablespoon Kosher salt
- 2 1/2 tablespoons butter, plus more for brushing loaves
- 2 1/2 tablespoons honey
Directions
- Coat a large bowl with butter, then butter 2 9x5-inch loaf pans and put them aside. If 8.5x4.5-inch pans are what you have, use them, just know the bread will rise into a much taller shape.
- Heat the 2 1/2 cups of milk in the microwave using 30-second bursts, giving it a stir after each one, until it loses its chill. It should feel lukewarm on your finger, not hot at all, since too much heat can do the yeast in.
- Add the yeast to the warmed milk and leave it alone for about 5 minutes. By the end, most of the yeast should be dissolved and you should notice little bubbles across the milk.
- While that sits, whisk the whole wheat flour, bread flour, and salt in a large bowl, then make a hollow in the middle. In a small microwave-safe bowl, melt the butter in 30-second bursts until it has just liquefied, then stir in the honey and let the mixture cool until it is no longer hot.
- Pour the milk-yeast mixture into the hollow in the flour, then add the butter-honey mixture. Use a wooden spoon to stir until the dough looks rough and shaggy; most of the flour should be worked in, though a little dry flour left in the bowl is perfectly fine.
- For kneading by hand, scrape the dough and any loose flour onto the counter and work it for 10 minutes. Gather it together with your fingers, press it forward with the heel of your hand, fold it back over itself, rotate it 1/4 turn, and keep going in that same rhythm.
- As you knead, the dough should become soft, flexible, and slightly tacky. If it clings to your hands or the counter, sprinkle on extra bread flour as needed, 1 tablespoon at a time.
- For kneading in a stand mixer, use the dough hook attachment and let the machine work the dough on its lowest setting for 5 to 7 minutes. When the kneading is done, the dough should feel tacky but not sticky; shape it into a ball with a smooth top and a springy feel.
- Set the dough ball in the buttered bowl. With your fingers, rub a light coating of softened butter over the top, then cover the bowl with plastic wrap or a clean dish towel and let it rest on the counter until it has nearly doubled, 45 to 60 minutes.
- Gently press the dough down 2 or 3 times, then lift it from the bowl and shape it into a ball. Divide it into 2 equal pieces.
- Shape each piece into a loaf by patting it with your fingertips into a cushy oval about as wide as the baking pan. From a short side, roll it up gently, pinch the seam to seal, turn it seam-side down, and place it in the prepared pan. Do the same with the 2nd loaf.
- Cover the pans with plastic wrap or a clean kitchen towel. Let the loaves rise for 45 to 60 minutes, until the dough sits just above the rim of the pan.
- The dough is oven-ready when it looks puffed but still holds its shape. Press the top lightly with a fingertip; the indentation should slowly ease back.
- Midway through this 2nd rise, heat the oven to 375-degrees. Melt additional butter so it is ready for brushing over the loaves.
- Use a serrated knife to cut a shallow line along the middle of each loaf. Brush the tops with the melted butter; if the warm butter makes little bubbles in the dough, just prick them with the knife.
- Transfer the loaves to the oven and bake for about 40 minutes, until they are browned, risen, and sound hollow when you tap the bottoms.
- After baking, take the loaves out of the oven and brush the tops with butter 1 more time. Remove them from the pans and set them on a wire rack to cool; leaving them in the pans will trap moisture and make the bread soggy.
- Once the bread has cooled, keep it at room temperature in a plastic bag or cloth bread bag. It will be fresh for 4 days, and while day 5 does not mean disaster, the slices will be drier, so day 5 is better for grilled sandwiches or toast than a fresh turkey sandwich.